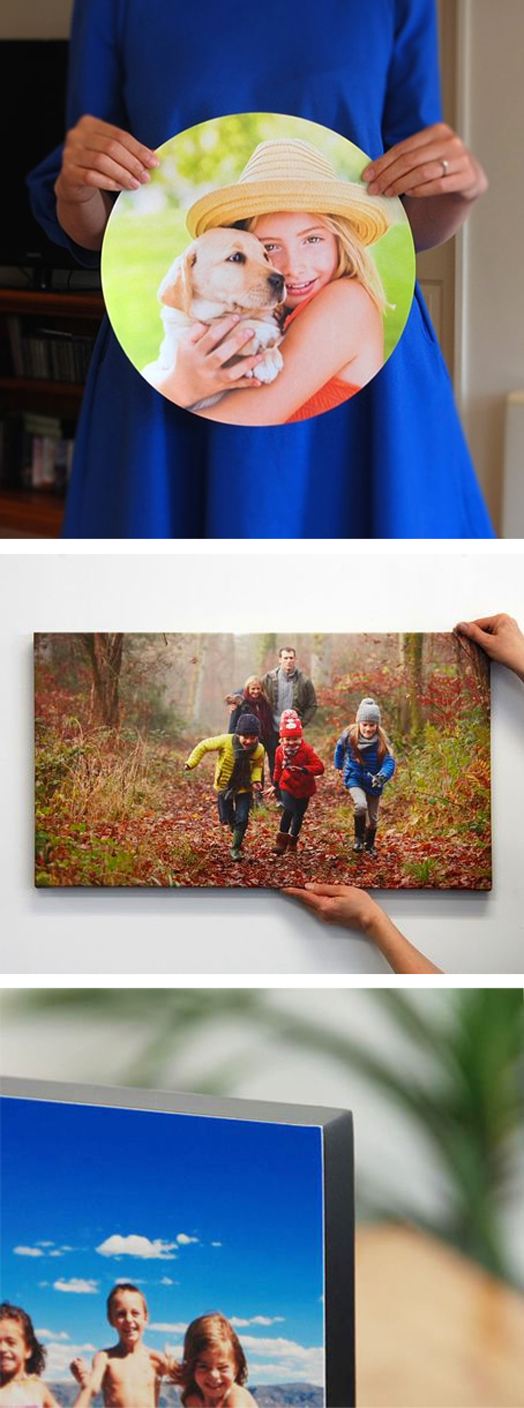
You may've noticed that I'm no longer blogging every day. With my interior design business, Bibby + Brady, growing and getting busier and busier, I had been struggling to keep with five blog posts a week. I've decided it's a much better idea to do three quality posts a week - Monday, Wednesday and Friday - where I will share with you Bibby + Brady jobs we're working on, as well as fabulous new products and businesses, and my favourite interior inspiration.
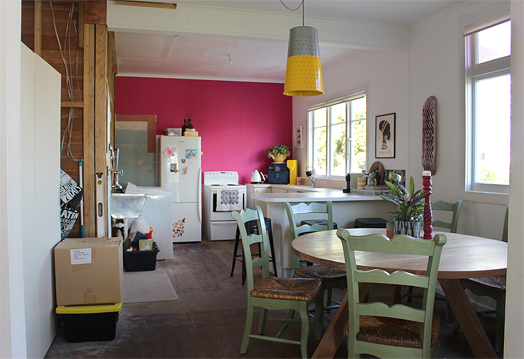
Today is the first in a series of posts on my own kitchen/dining/laundry reno, and I hope you follow me on the journey from demolition to dream finish! This is what I'm living with at the moment - some walls have already been taken back to the framing; old lino ripped up; some cupboards have been ripped out and the pantry relocated before it goes for good.
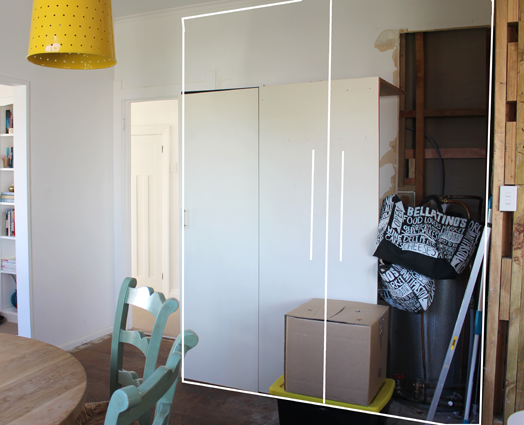
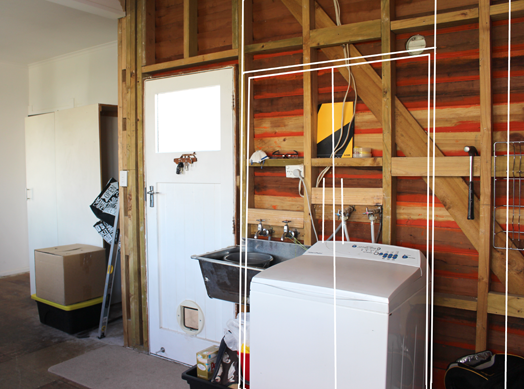
The old pantry has been moved down to this corner (below) temporarily. The hot water cylinder will be removed, as we're going to have a gas hot water system installed, and a set of bi-fold cupboards will be built to house our laundry and provide extra storage. The laundry is currently in our kitchen, and by moving it we get more precious storage in the kitchen. We used to have a set of industrial lockers in this corner of the dining room, and they have been moved out to our garage to make room for the new laundry cupboard.
We recently had a new round dining room table made in American oak, and we LOVE this! The old chairs will be sold, and in the corner of the dining room we're having an L-shaped booth seat custom made with internal storage. Three new chairs will be added around this side of the table, which means we will be able to fit lots of family and friends around it.

The fridge will be replaced by a double fridge and moves to where the laundry currently is. This is on the outskirts of the kitchen which means when the kids are popping in and out of the fridge (which they seem to do a lot!) they won't have to come right into the kitchen and get under my feet. Wall hung cupboards will be added right to the ceiling with the range hood concealed in one and down lighting added underneath for task lighting. A new oven and cooktop will be installed in the same place as the old oven (which helps with electrics not having to move). On the left hand side will be bi-fold cupboards, a tall pull-out pantry, and the fridge.

Here's another view of where the fridge and pull-out pantry will be. To the left is our back door.
The bench will be extended slightly and will have open shelves and a cupboard on the dining room side to utilise as much of the cupboard space as possible. Storage is key for me as I've lived with this kitchen and it's lack of cupboard space for 10 years. The bar stools will go, as we have plenty of seating around the dining room table. The floor boards will be sanded and polished.

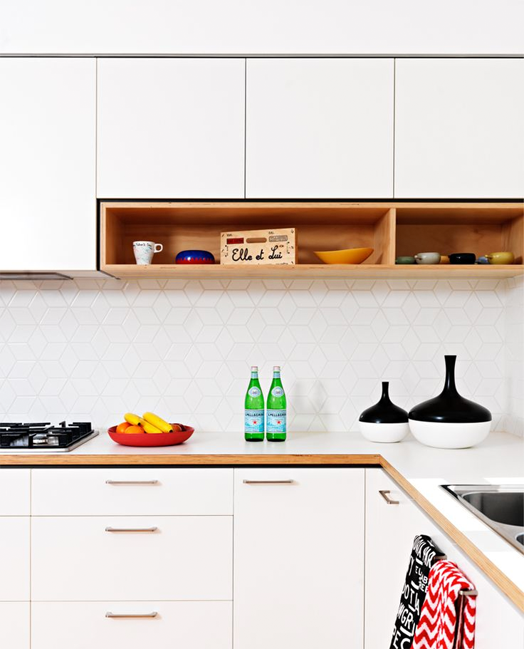
To give you an idea of the look I'm going for, here are some of my inspirational pics. My husband wanted an all white kitchen, so I have found clever ways to incorporate texture to avoid it looking too clinical. I love the contemporary take on an old look achieved by simple wainscoting or wood panelling. Darren and Dee used it beautifully in their Block Glasshouse apartment. To add to the clean look I'm opting for handleless drawers.

There will be touches of wood including an open shelf made from our old mantelpiece.
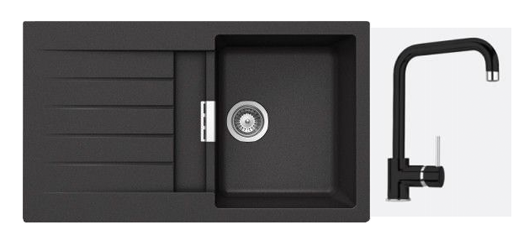
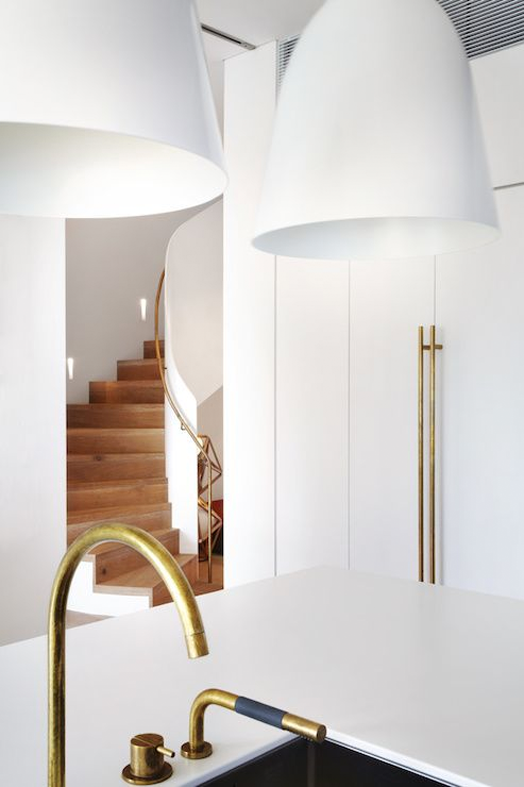
I have my heart set on a matt black stone sink and a matt black (or even copper!) tap.
The splash back behind the oven will features some gorgeous tiles. I'm hoping for small marble hexagon tiles to bring some more texture and subtle colour to the white room.

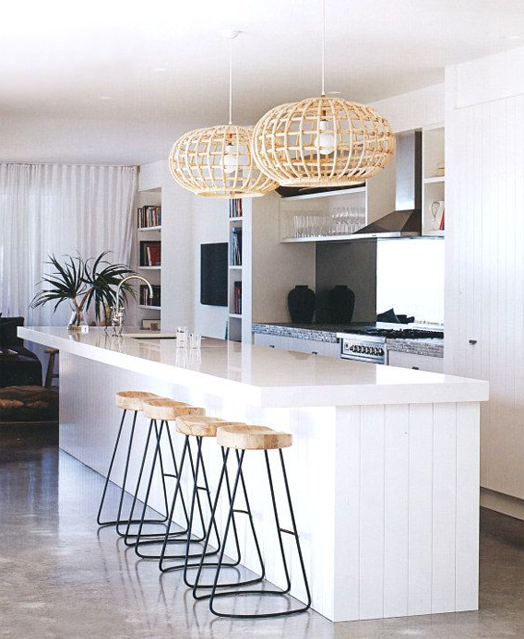
Michael and Carlene's kitchen (yes, I was a fan of The Block Glasshouse) has the wall hung cupboards and pull-out pantry similar to the ones we will have. We'll also have the storage cupboard above the fridge.

Although the kitchen drawers will be handleless, the bi-fold doors will have simple but beautiful brass handles.
This is what I want our booth seat to look like - more panelling and comfy squabs.

I know that's a lot to take in, but what do you think??? I didn't mention the benchtop as we're still trying to decide on this and have several options being priced up at the moment. It may be a long process but I promise to include you on our journey, and can't wait to, one day in the near future (please be near!), reveal the finished rooms.
Today is the first in a series of posts on my own kitchen/dining/laundry reno, and I hope you follow me on the journey from demolition to dream finish! This is what I'm living with at the moment - some walls have already been taken back to the framing; old lino ripped up; some cupboards have been ripped out and the pantry relocated before it goes for good.
The old pantry has been moved down to this corner (below) temporarily. The hot water cylinder will be removed, as we're going to have a gas hot water system installed, and a set of bi-fold cupboards will be built to house our laundry and provide extra storage. The laundry is currently in our kitchen, and by moving it we get more precious storage in the kitchen. We used to have a set of industrial lockers in this corner of the dining room, and they have been moved out to our garage to make room for the new laundry cupboard.
We recently had a new round dining room table made in American oak, and we LOVE this! The old chairs will be sold, and in the corner of the dining room we're having an L-shaped booth seat custom made with internal storage. Three new chairs will be added around this side of the table, which means we will be able to fit lots of family and friends around it.
The fridge will be replaced by a double fridge and moves to where the laundry currently is. This is on the outskirts of the kitchen which means when the kids are popping in and out of the fridge (which they seem to do a lot!) they won't have to come right into the kitchen and get under my feet. Wall hung cupboards will be added right to the ceiling with the range hood concealed in one and down lighting added underneath for task lighting. A new oven and cooktop will be installed in the same place as the old oven (which helps with electrics not having to move). On the left hand side will be bi-fold cupboards, a tall pull-out pantry, and the fridge.
Here's another view of where the fridge and pull-out pantry will be. To the left is our back door.
The bench will be extended slightly and will have open shelves and a cupboard on the dining room side to utilise as much of the cupboard space as possible. Storage is key for me as I've lived with this kitchen and it's lack of cupboard space for 10 years. The bar stools will go, as we have plenty of seating around the dining room table. The floor boards will be sanded and polished.
To give you an idea of the look I'm going for, here are some of my inspirational pics. My husband wanted an all white kitchen, so I have found clever ways to incorporate texture to avoid it looking too clinical. I love the contemporary take on an old look achieved by simple wainscoting or wood panelling. Darren and Dee used it beautifully in their Block Glasshouse apartment. To add to the clean look I'm opting for handleless drawers.
There will be touches of wood including an open shelf made from our old mantelpiece.
I have my heart set on a matt black stone sink and a matt black (or even copper!) tap.
The splash back behind the oven will features some gorgeous tiles. I'm hoping for small marble hexagon tiles to bring some more texture and subtle colour to the white room.
Michael and Carlene's kitchen (yes, I was a fan of The Block Glasshouse) has the wall hung cupboards and pull-out pantry similar to the ones we will have. We'll also have the storage cupboard above the fridge.
Although the kitchen drawers will be handleless, the bi-fold doors will have simple but beautiful brass handles.
This is what I want our booth seat to look like - more panelling and comfy squabs.
I know that's a lot to take in, but what do you think??? I didn't mention the benchtop as we're still trying to decide on this and have several options being priced up at the moment. It may be a long process but I promise to include you on our journey, and can't wait to, one day in the near future (please be near!), reveal the finished rooms.